Gravity Forms Submission Confirmation and Email Notification
Confirmation
-
Note: if you are looking to send a confirmation email, see the Notification section lower down on the page
After building a form within gravity forms, it is best practice to give the user a confirmation that their entry has been submitted.
How to create a custom confirmation
- Open the form editor.
- In the top bar click Settings
- Then select Confirmations

- Click the Add New button (or edit the Default Confirmation if desired),
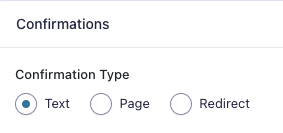
- Then choose which confirmation type you would like for the users
- Text: which you can customize the message for the users
- Page: will allow you to redirect your users to another WordPress page on your site
- Redirect: will allow you to redirect your users to any public URL

- Make sure you click Save Confirmation when you are happy with your message
- Test the form
Notifications
After building a form within gravity forms, you may want to send the submitter (or someone else) an email notification that their entry has been submitted.
How to create a custom notification
- Open the form editor.
- In the top bar click Settings
- Then select Notifications
- The screen you see at the step allows you to specify which notification the user will receive.
 This is the default notification. It emails the contents of the submission to the website admin email.
-
Click the Add New button (or edit the Admin Notification and rename it accordingly).
- Fill out the with the information needed to send the email confirmation.
-
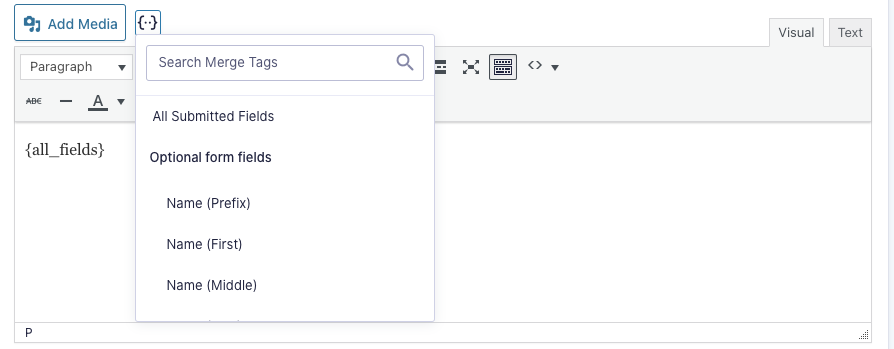
You can populate the body of the email (and the subject) with information collected in your form by clicking the "Insert Merge Tag" tool - {..}

-
Click Save/Update Notification
-
Test your form and publish when ready!